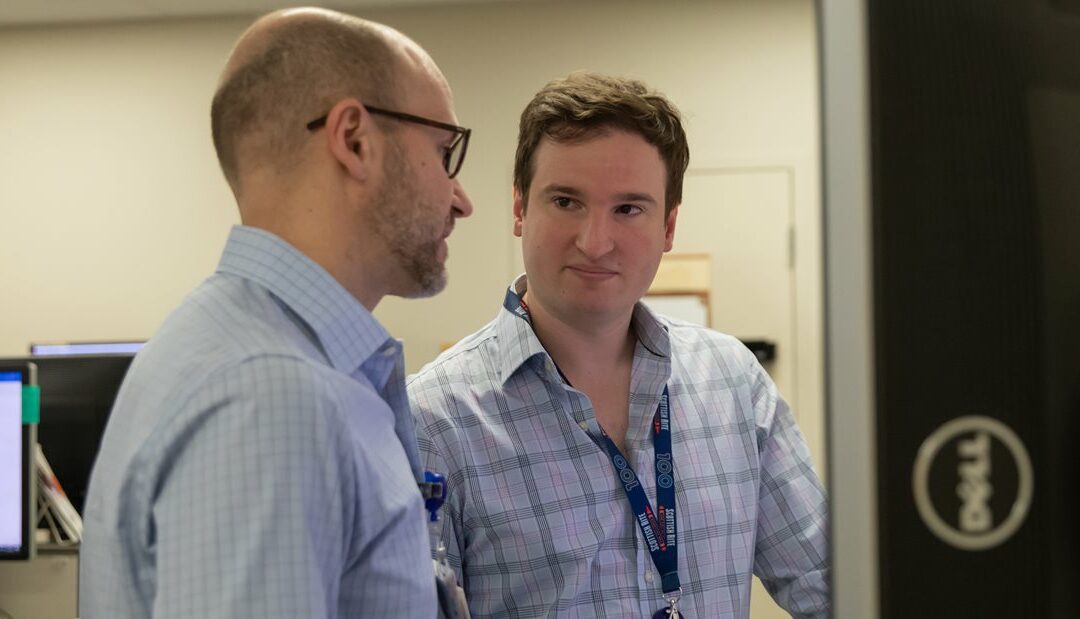
Adam Jamnik: Medical Student Research Fellow, Research
Scottish Rite for Children offers a Medical Student Research Fellowship (MSRF) for medical students interested in gaining experience in clinical research. Fellows work with a lead faculty mentor throughout the year and several project supervisors who are pediatric orthopedic faculty at Scottish Rite. Fellows work as a crucial part of the research teams in various Centers for Excellence at Scottish Rite and are responsible for a variety of research projects.
Meet Adam, a MSRF at Scottish Rite in 2022 who works with Brandon A. Ramo, M.D., in the Center for Excellence in Spine.
What inspired you to apply for the MSRF position?
I am currently applying to residency in orthopedic surgery and have long felt that I would want to make research a part of my future career. Though I have had the opportunity to conduct research in medical school and as an undergraduate, I knew that a year-long research fellowship position would dramatically enhance my research skills, ultimately benefiting me for years to come. The MSRF position was a perfect fit for me. I am primarily interested in pediatric orthopedics, so Scottish Rite for Children, as a preeminent clinical and research facility, was always on my radar. I knew that the amazing physicians and research infrastructure here would provide me the support and learning opportunities to make the most of this year.
I primarily became interested in medicine during high school, where I loved my science classes. During that time, I was also a ski instructor for children ages 3-7. That experience made me realize that I would really enjoy a job working with people and helping others.

When I was thinking of ways I could combine my passions for science and making a direct impact on peoples’ lives, medicine seemed like a natural fit. As for my interest in research, that began during college. The laboratory components for my biology and chemistry classes were great learning experiences, but I wanted the experiments I was conducting to further our understanding of the world around us and to have the experience of formulating my own questions. I ended up getting involved in two research labs — one that studied epigenetics and another that studied the interaction between hunger and sleep.
What is it like working at Scottish Rite for Children?
Working at Scottish Rite has far surpassed my expectations. First, I think the organization in general has an incredibly positive atmosphere. The people seem genuinely happy to come to work and are excited to help children dealing with orthopedic conditions. The attendings have given me invaluable career guidance and research mentorship. The research coordinators have been instrumental in supporting my projects and making sure I can make the most of my year here.
Can you share a few sentences about someone at Scottish Rite who has been a mentor to you and how they have impacted your experience? What project are you working on with that mentor?
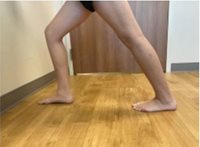
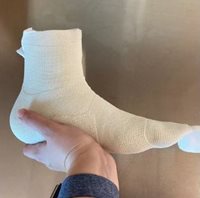
One of my primary mentors at Scottish Rite is Dr. Brandon Ramo. From the outset, Dr. Ramo has supported me through every step of the research process. One of the projects we are working on is determining how adolescents’ experience with scoliosis has changed over the past two decades. During that time, Scottish Rite has given a survey (known as the SRS-30) to patients prior to their surgery to gauge their level of pain, how they feel about their appearance, activity levels and mental health. We determined that some of these metrics have taken a turn for the worse and hypothesize this may be related to changing societal pressures and norms.
How do you think this experience will impact your career path?
As I mentioned, I am hoping to make research a part of my future career. My experience at Scottish Rite has allowed me to further develop an understanding of the research process as well as the skills needed to conduct research, such as developing good research questions, selecting appropriate inclusion and exclusion criteria, identifying the variables needed to answer a given research question and ultimately publishing results. I am confident that this experience will improve the quality of the research that I conduct throughout my career and will likely influence the practice setting I ultimately select for my career.
What progress have you made towards your career goal since beginning the program?
I am applying for residency this year, and interview season just started at the beginning of December! My research experience at Scottish Rite will likely be brought up in all my interviews, so I am grateful that the team here has helped me have such a productive time thus far.
What is your favorite project that you are currently working on or have worked on at Scottish Rite?
My favorite project has been the one I mentioned earlier, on the evolution of SRS scores. Another project that I am proud of looks at the performance of magnetically controlled growing rods (MCGR), which is a newer scoliosis treatment for patients that are still growing. It involved reviewing hundreds of X-rays, but I am really happy with the end product and think it adds significantly to the conversation on a newer treatment modality.
What advice do you have for future MSRF participants?
My advice would be to really dive in! A year is a short period of time, especially in research when there are so many moving parts. Don’t be afraid to juggle a few projects at once because each project will demand different amounts of attention at different times.
What is one thing most people don’t know about you?
I love trying different restaurants! I am originally from New York, so it has been great exploring the Dallas food-scene.
Anything else you would like to add?
I would just like to reiterate my thanks to Scottish Rite! I am so grateful for all the resources they’ve provided me. The work that is done here for patients is absolutely incredible, and it is very rewarding to have played a small part in that. This one year will benefit me and my career for decades to come. I am confident that through those years, I will leverage this experience for the benefit of my patients.
We’re recruiting Medical Student Research Fellows for 2023! If you are a third-year medical student looking to take a gap year before applying to residency, take advantage of this unique opportunity! Only three positions are available for 2023.
Learn more and apply here on our Careers page.